Getting started with your base (for the experienced basket maker)
This is the condensed version of the ‘Getting Started’ tutorial for experienced crocheters and basket makers! Don’t forget that if you get stuck, you can also see the full video tutorial here.
You will need:
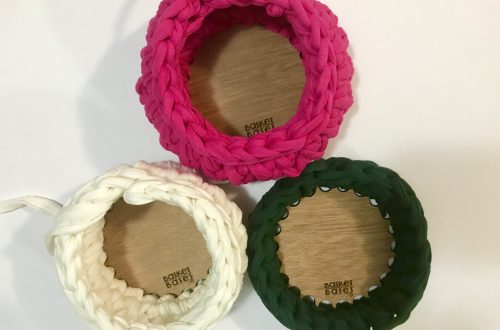
Basket base (I am using a 12cm base in the tutorial, but you can use any size – the process is exactly the same).
T-shirt yarn
A 5mm (or similar) crochet hook to ‘cast on’
A 7mm crochet hook for the basket walls (or whichever size you prefer to use for basket making)
A small crochet hook (ie. 3.5 or 4mm hook) to weave in the end

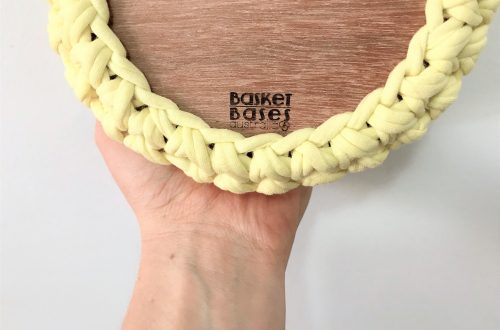
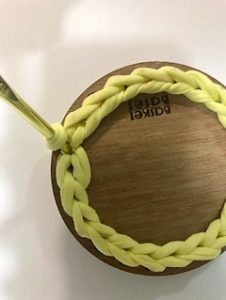
Note: *You will be working on the underneath of the base to begin. So hold the base with the side you want to be the ‘outside’ of the basket facing toward you.*
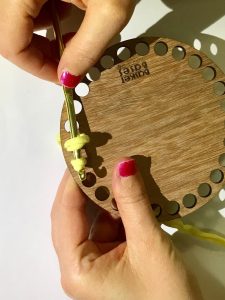
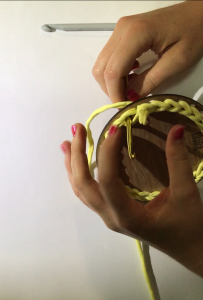
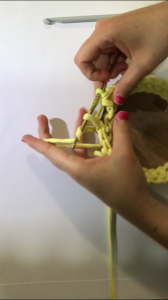
Step 1:
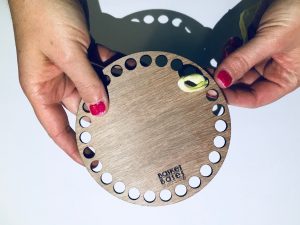
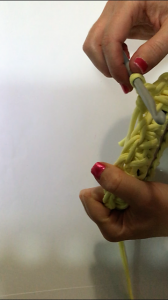
Make a loop with yarn and insert through a hole, from behind.
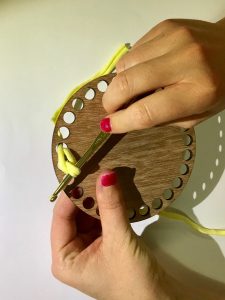
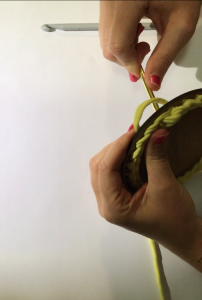
Step 2:
Insert hook through loop, then insert hook into next hole, collect yarn and slip stitch through first loop on hook.
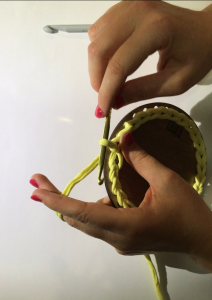
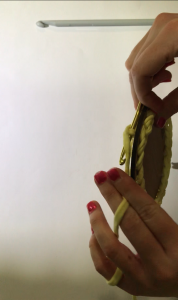
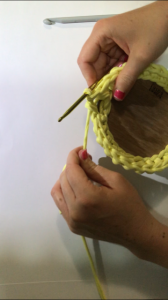
Step 3:
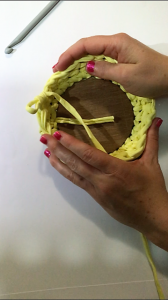
Continue to slip stitch through the holes, all the way around.
When you reach the last hole before the first slip stitch, remove the hook from the yarn loop. Insert hook in the beginning hole, but from behind (through the first slip stitch). Collect the empty loop with hook and pull it back through the hole.
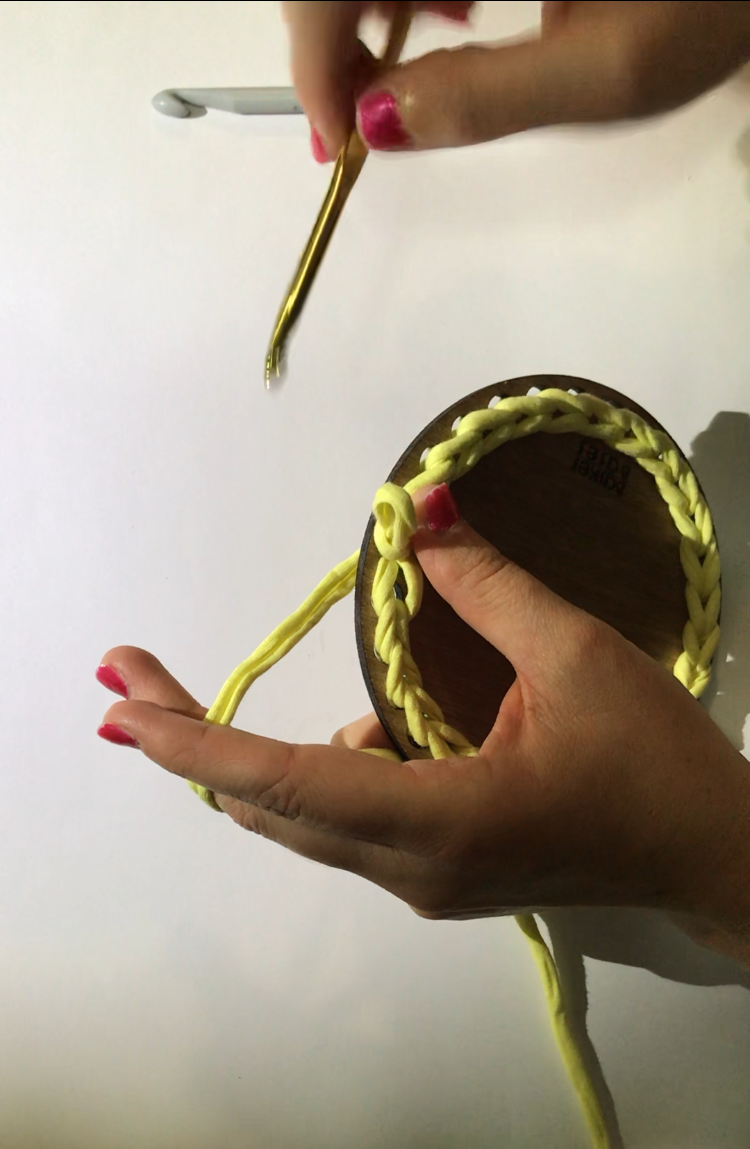
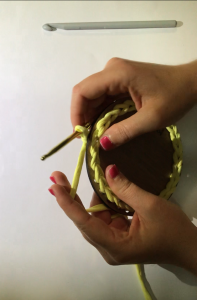
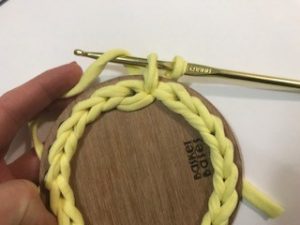
Step 4:
Chain one. Congratulations! You have completed your first round!
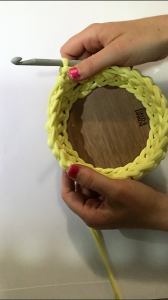
Step 5:
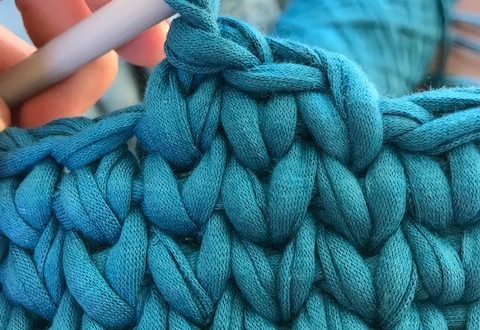
Single crochet into the hole directly under the hook (the hole you first started in, pushing hook through the middle of the slip stitch.
This part can be a little fiddly, but it gets easier with practice.
As you go, crochet over the yarn tail to hide. Continue to single crochet all the way around the base, going through each hole.
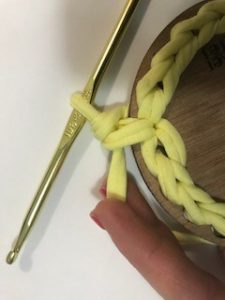
Step 6:
When you reach the last hole, insert the hook into the back loop only of the next stitch. Collect the yarn and pull it back through, then yarn over and pull through the two loops on the hook.

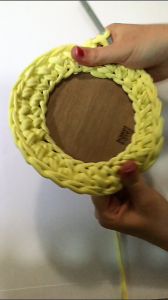
You have now finished ‘casting on’ to your base and are ready to make your basket walls. Don’t forget to change here to your larger hook before you continue making your basket walls and finish off as per usual!
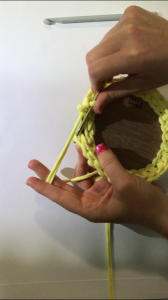
Important: Once you have completed your first round of basket wall, ‘flip’ the yarn walls over with your hands so that you are now working with the right side facing. *Remember that at the start, we began with the outside of the basket base toward us.* Once you ‘flip’, the inside of the basket base will be toward you. You can gently re-shape the yarn walls as you go. Don’t worry if it doesn’t look quite right yet, it will as it grows.
Happy crocheting!